Connecting to a PostgreSQL Database with psql and pgAdmin
When working with a PostgreSQL database, two popular tools for connecting and interacting with your data come to mind: psql, a command-line interface, and pgAdmin, a graphical user interface. In this guide, we’ll walk you through setting up and using both psql and pgAdmin.
Prerequisites
Before we start, ensure you have the following prerequisites:
- Docker installed on your system. If not, refer to our previous tutorial on installing Docker for your specific operating system.
- A Postgresql instance. If not refer to the previous tutorial on how to install Postgresql.
- Basic knowledge of PostgreSQL.
Installing psql
psql is a command-line tool for interacting with PostgreSQL databases. To install it, follow these steps:
Step 1: Install PostgreSQL Client
Tip: If you have followed our previous tutorial about installing PostgreSQL with Docker, you should already have psql on the container. To access it, just run the following command:
docker exec -it <your_postgres_container_name> psql -U <your_postgres_username> -d <your_database_name>Replace your_postgres_container_name, your_postgres_username, and your_database_name with your specific container name, PostgreSQL username, and database name.
On Linux:
sudo apt update
sudo apt install postgresql-client
On macOS (with Homebrew):
brew install postgresqlOn Windows:
Download and install the PostgreSQL client from the official website.
Installing pgAdmin with Docker
pgAdmin is a powerful open-source administration and management tool for PostgreSQL and other database systems. We will set it up using Docker for easy management.
Step 1: Create an Environment Variables File
Create a directory for your project, navigate to it in your terminal, and create a .env file. This will contain environment variables that will be used by docker compose. It should contain the following:
PGADMIN_DEFAULT_EMAIL="your_email@example.com"
PGADMIN_DEFAULT_PASSWORD="your_password"
PGADMIN_PORT=5050
Make sure to replace your_email@example.com and your_password with your desired email and password for accessing pgAdmin.
Step 2: Create a Docker Compose File
In the same directory as your .env file, create a docker-compose.yml file with the following content:
version: '3.8'
services:
  pgadmin:
    image: dpage/pgadmin4
    container_name: postgres_with_example_pgadmin
    environment:
        PGADMIN_DEFAULT_EMAIL: ${PGADMIN_DEFAULT_EMAIL}
        PGADMIN_DEFAULT_PASSWORD: ${PGADMIN_DEFAULT_PASSWORD}
    ports:
        - "${PGADMIN_PORT}:80"
Step 3: Start pgAdmin Container
In the same directory as your docker-compose.yml file, run the following command to start the pgAdmin container:
docker-compose up -dThis command will download the dpage/pgadmin4 Docker image and start the container in detached mode.
Step 4: Access pgAdmin
Open your web browser and navigate to http://localhost:5050. You will be prompted to log in with the email and password you specified in the docker-compose.yml file.
Step 5: Connecting to a Database
To connect to a database:
-
Navigate to localhost:5050 and login with the email/password set above.
-
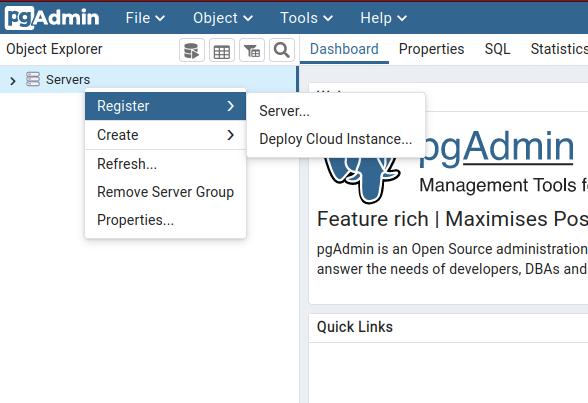
Right click on Servers > Register > Server
-
Enter your PostgreSQL hostname, username, password.
-
Click Save.
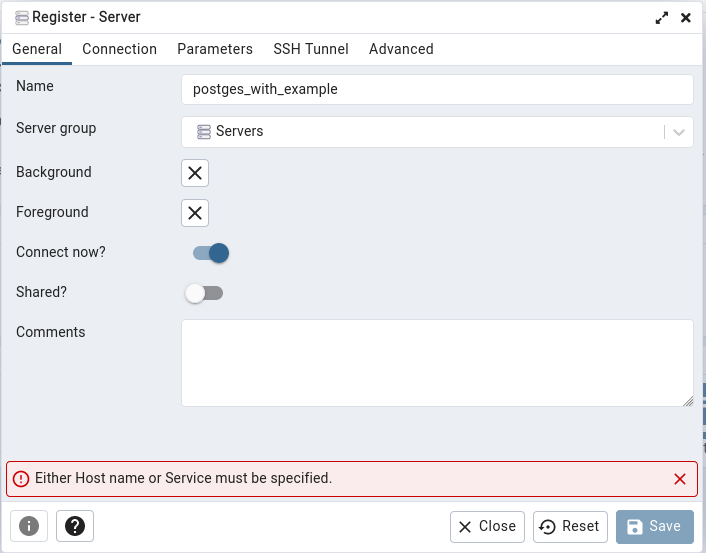
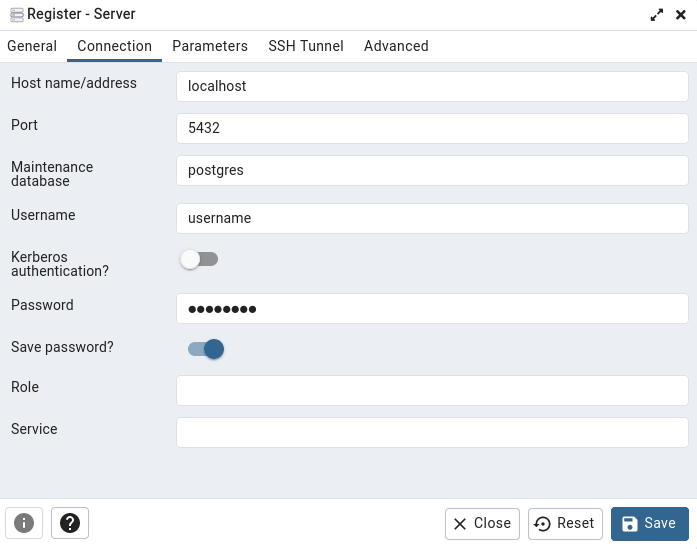
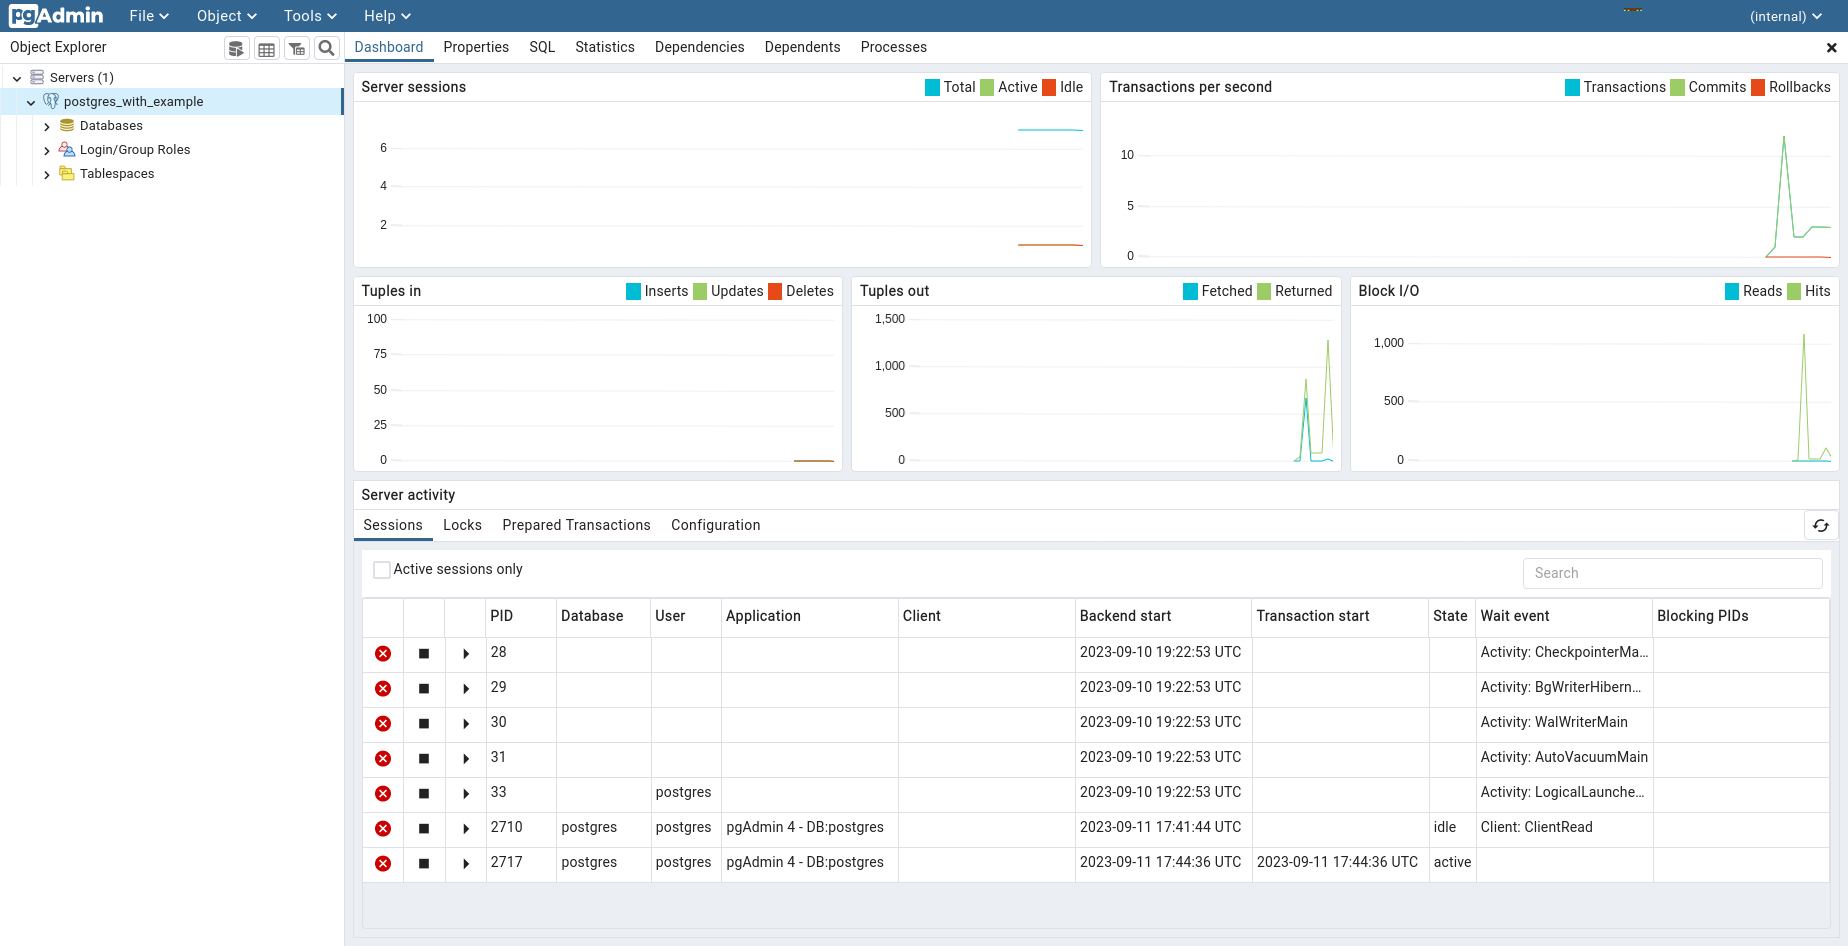
If there are no errors, you should immediately be connected to your PostgreSQL database instance.
Setting up a Persistent pgAdmin Container with Docker Compose
By default, the pgAdmin container we’ve created will store its data internally, which means that if the container is removed, your configurations and saved connections will be lost. To ensure data persistence, you can set up a volume in your docker-compose.yml file. Modify the services section as follows:
services:
  pgadmin:
    image: dpage/pgadmin4
    container_name: postgres_with_example_pgadmin
    environment:
        PGADMIN_DEFAULT_EMAIL: ${PGADMIN_DEFAULT_EMAIL}
        PGADMIN_DEFAULT_PASSWORD: ${PGADMIN_DEFAULT_PASSWORD}
    ports:
        - "${PGADMIN_PORT}:80"
    volumes:
    - pgadmin_data:/var/lib/pgadmin
volumes:
  pgadmin_data:
With this configuration, your pgAdmin data will be stored in a Docker volume (pgadmin_data), ensuring that your configurations and saved connections persist even if you remove and recreate the pgAdmin container.
Using psql and pgAdmin
With both psql and pgAdmin set up, you have the flexibility to choose your preferred tool for interacting with PostgreSQL databases:
-
psql: Use the command-line tool for quick and scriptable interactions with your databases.
psql -h localhost -U your_username -d your_database -
pgAdmin: Utilize the graphical user interface for a visual and intuitive way to manage, query, and interact with your PostgreSQL databases.
Access pgAdmin by opening your web browser and navigating to
http://localhost:5050.
psql and pgAdmin both provide convenient ways to connect and interact with your PostgreSQL databases. psql for quick command line access, pgAdmin for an easy graphical interface. With the above setup, you’re ready to get started working with your PostgreSQL data!